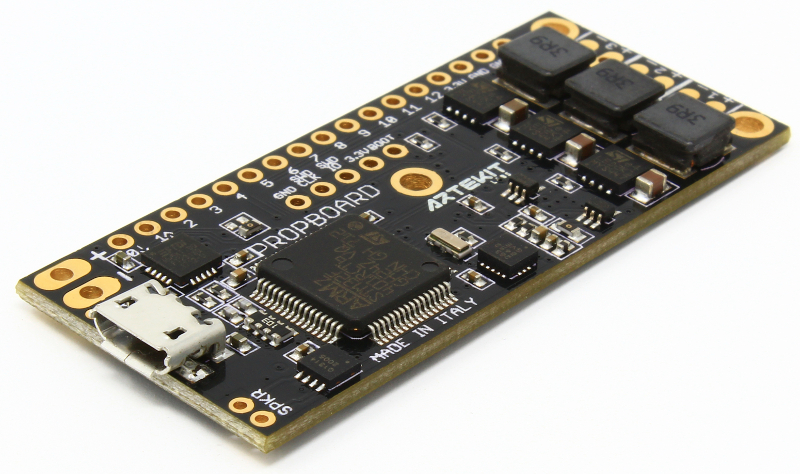
Artekit PropBoard: PropButton Library
The PropButton library helps you implementing momentary push-buttons and switches with the Artekit PropBoard.
Introduction
The PropButton library is an event-based helper library that leverages the usage of momentary switches and push-buttons. The library automatically handles the debouncing of the input signal and collects press and release events in the background. There are also functions to define and asynchronously blink an LED for those push-buttons including an LED.
To use the library, select it from the Contributed Libraries (Sketch menu -> Include Library) or just add #include <PropButton.h> at the top of your sketch. The library is automatically installed when you install the PropBoard board package.
Usage
You can manage a button by creating a PropButton and calling the PropButton::begin function.
#include <PropButton.h>

// Create a PropButton
PropButton myButton1;

// Create another PropButton
PropButton myButton2;

void setup()
{
    // Initialize the button 1 on pin 1, with active-high signal
    myButton1.begin(1, ButtonActiveHigh);

    // Initialize the button 2 on pin 2, with active-high signal
    myButton2.begin(2, ButtonActiveHigh);
}
The PropButton library collects events in a list, accumulating up to 5 events to be processed later. So if your program didn’t had time to check the PropButton because it was doing other things, you can check for events with the PropButton::getEvent function anytime. Of course, the faster you check for events, the more responsive your system becomes.
Active low? Active high?
Buttons usually have two contacts. You will be connecting one of these contacts to the pin indicated in the PropButton::begin function. The remaining contact of the button can be connected to either VCC (3.3V) or ground.
If you have connected this contact to VCC, then, when pushed, the PropBoard will receive a logic 1 signal. This is called active high since when the button is active it sets a high signal. In the other case, if the contact of the button is connected to ground, the PropBoard will receive a logic 0 signal when the button is pressed. This is called active low since when the button is active is sets a low signal.
For the active low case, the PropBoard has to set an internal pull-up resistor so when the button is not pressed the PropBoard senses a high signal, and when the button is pressed, this signal becomes low.
The PropButton library has to know how you connected the button. This is done using wither the ButtonActiveHigh or ButtonActiveLow values when calling PropButton::begin. The library will take care of configuring the pin (setting the right pull-up or pull-down resistor) and to monitor the pin to know when it has been pressed/released.
Complete example
Here is an example about creating a button and retrievent events:
#include <PropButton.h>

// Instance a PropButton
PropButton myButton;

void setup()
{
    // Initialize a button on pin 1, with active-high signal
    myButton.begin(1, ButtonActiveHigh);

    // Configure how much time it needs to declare a long-press event.
    // In this case, it's 1 second.
    myButton.setLongPressTime(1000);

    // Do other initialization.
    // ...

    // Reset any event the user may have provoked while doing the initialization.
    myButton.resetEvents();
}

void loop()
{
    switch(myButton.getEvent())
    {
        case EventNone:
            // There are no events
            break;

        case ButtonPressed:
            // The button was pressed
            break;

        case ButtonReleased:
            // The button was released
            break;

        case ButtonLongPressed:
            // The button is being long-pressed
            break;

        case ButtonShortPressAndRelease:
            // The button was released after a short pression
            break;
    }

    // There are also these functions to know the current state of the button
    if (myButton.pressed())
    {
        // Button is pressed
    }

    if (myButton.released())
    {
        // Button is released
    }
}
To blink an LED associated with the button you can call the PropButton::blink function. For example:
#include <PropButton.h>

// Instance a PropButton
PropButton myButton;

void setup()
{
    // Initialize the button on pin 1, with active-high signal
    myButton.begin(1, ButtonActiveHigh);

    // Start blinking a LED on pin 2, with active-high signal,
    // with cycles of 1000ms, of which 500ms the LED will be ON
    // and the rest of the time it will be OFF
    myButton.blink(2, 1000, 500, ButtonLedActiveHigh);
}
PropButton::begin
Call the PropButton:begin function to initialize the PropButton. This function has to be called before calling any other PropButton function.
Syntax
void begin(uint32_t pin, ButtonType type = ButtonActiveHigh, uint32_t minimum_debouncer = 25);
Parameters
The pin parameter is a pin defined as a number between 0 and 12. These pins are the ones in this list.
The type parameter is the level of the signal needed to assert the button, and can be one of the following values:
- ButtonActiveHigh: the button is asserted with a logic 1
- ButtonActiveLow: the button is asserted with a logic 0
The minimum_debouncer parameter indicates the quantity of time (in milliseconds) a signal must maintain its level to be considered as stable. If omitted the parameter takes a default value of 25ms.
Returns
None.
Example
See examples in the Usage section.
PropButton::end
Call this function to de-initialize the PropButton.
Syntax
void end();
Parameters
None.
Returns
None.
PropButton::pressed
Call this function to know if the button is being pressed.
Syntax
bool pressed();
Parameters
None.
Returns
This function returns true if the button is being pressed, false otherwise.
PropButton::released
Call this function to know if the button is released.
Syntax
bool released();
Parameters
None.
Returns
This function returns true if the button is released, false otherwise.
PropButton::setLongPressTime
This function configures the time needed to validate a “long pression” and thus generate ButtonLongPressed events.
Syntax
void setLongPressTime(uint32_t ms);
Parameters
The ms parameter is the time (in milliseconds) needed to generate a ButtonLongPressed event.
Returns
None.
Example
See examples in the Usage section.
PropButton::getEvent
Call this function to retrieve a button event from the events FIFO.
Syntax
ButtonEvent getEvent();
Parameters
None.
Returns
The function returns one of the following values:
- EventNone: no event was detected.
- ButtonPressed: a button press has been detected
- ButtonReleased: a button release has been detected
- ButtonLongPressed: a button long-press has been detected
- ButtonShortPressAndRelease: a button press followed by a button release was detected. The time between press and release is less than the time set with the
PropButton::setLongPressTimefunction.
Notes
A PropButton has an event FIFO that can store up to 5 events. Is the FIFO is full, new events are discarded until an event is retrived with the PropButton::getEvent function.
Example
See examples in the Usage section.
PropButton::resetEvents
This function resets the events and clears the FIFO of a PropButton.
Syntax
void resetEvents();
Parameters
None.
Returns
None.
PropButton::blink
Use this function to start/stop blinking an LED associated with a button.
Syntax
void blink(uint32_t pin, uint32_t cycle_ms, uint32_t time_on, ButtonLedType type = ButtonLedActiveHigh);
Parameters
The pin parameter is the pin number where the LED is connected. Can be any pin in this list.
The cycle_ms parameter is the time (in milliseconds) of a blinking cycle. It defines the blinking frequency. If left to zero, the blinking is stopped.
The time_on parameter is the time (in milliseconds) the LED will stay on within a blinking cycle. It defines the blinking duty-cycle. For example, for a cycle_ms of 1000ms and a time_on of 100ms, the LED will be ON for about 100ms, then it will stay OFF for about 900ms, then the cycle repeats.
The type parameter indicates if an LED is turned-on with a logic 1 or a logic 0. It can be any of the following values:
- ButtonLedActiveHigh: the LED is turned-on with a logic 1
- ButtonLedActiveLow: the LED is turned-on with a logic 0
If the type parameter is omitted, it takes a default value of ButtonLedActiveHigh.
Note
The function will initialize the pin as an OUTPUT. Remember to disable the blinking on all of your PropButton objects before entering low-power mode.
Example
See examples in the Usage section.