In this quick tutorial we’ll enable the I2C bus on the Raspberry Pi.
By default the Raspberry Pi comes with the I2C channel disabled. In order to enable it we have two options: enable it “on-demand” or enable it by modifying some configuration files so it’s enabled by default at every start-up.
First of all, we are going to download two packages: python-smbus that enables I2C access from Python, and then i2c-tools (I2C Tools for Linux) that we’ll be using to detect I2C devices along the bus. Open up the shell and write the following.
sudo apt-get install python-smbus
sudo apt-get install i2c-tools
On-demand I2C
If you want to enable the I2C bus for a quick test you can write the following on the shell:
sudo modprobe i2c-dev
sudo modprobe i2c-bcm2708
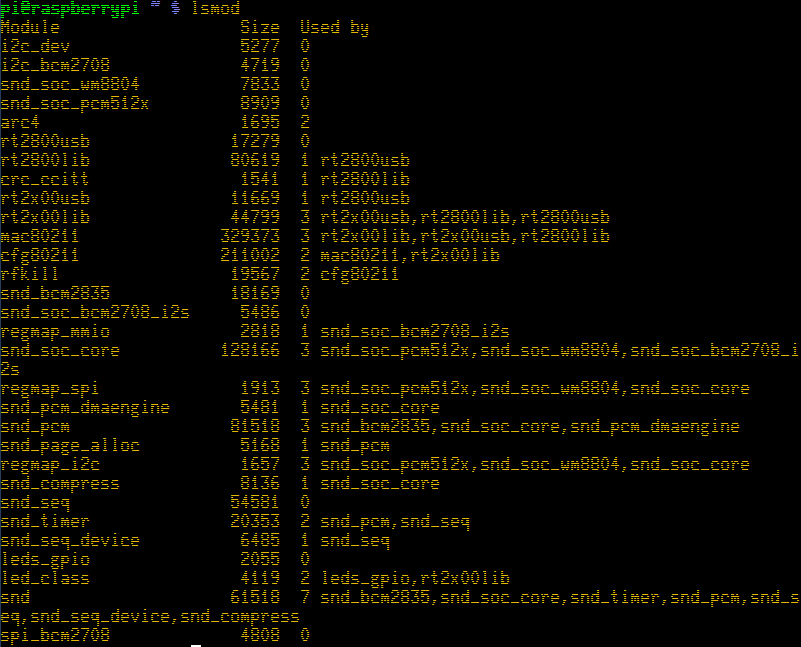
This will enable the I2C. Check that the I2C modules were loaded by writing:
lsmod
You can see at the top of the list that the two modules were successfully loaded:
To unload the I2C modules you can write the following:
sudo rmmod i2c-dev
sudo rmmod i2c-bcm2708
With the method up here you can quickly enable the I2C, but the configuration will be lost at the next reboot. To permanently enable the I2C see the following instructions.
Permanent I2C
The following will work on Raspbian, the official Raspberry Pi Linux distro.
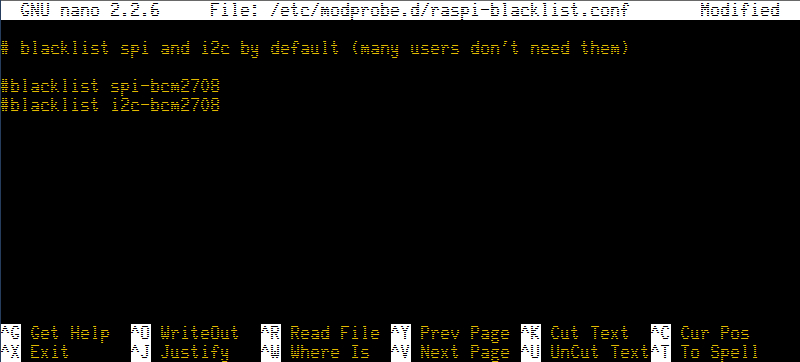
Edit the /etc/modprobe.d/raspi-blacklist.conf by writing:
sudo nano /etc/modprobe.d/raspi-blacklist.conf
This will open the raspi-blacklist.conf file on the nano text editor. You may notice by reading the first line that someone decided we won’t need the I2C bus, so they “blacklisted” it. Add a # character at the beginning of the blacklist i2c-bcm2708 line.
Press ctrl+o and enter to save the file. Then ctrl+x to exit.
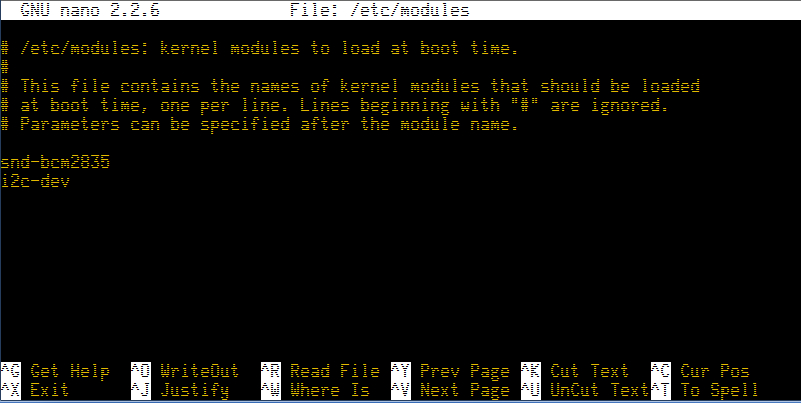
Now open up the /etc/modules file:
sudo nano /etc/modules
And write i2c-dev at the bottom of the file:
Press ctrl+o and enter to save the file. Then ctrl+x to exit.
That’s it. Now reboot the Raspberry Pi. After reboot, check with lsmod that the modules were loaded.
Testing
To test that our configuration is OK, we are going to use the i2c-detect command to check for I2C devices in our I2C bus. What i2c-detect does is to scan the I2C bus by probing every possible 8-bit I2C address.
If you have the first revision of the Raspberry Pi, the I2C bus is located at port 0. For the second revision of the board, the I2C is on port 1 (the most common case). That’s the number after the -y parameter:
sudo i2cdetect -y 1
This is what happens if we have a AK-MAG3110 magnetometer board connected to the bus:

As you can see from the MAG3110 datasheet, the magnetometer address is 0x0E. So we can confirm we have the I2C bus up and running.